
Vous voulez arriver à un effet similaire dans Photoshp ? Voici comment :
Commencez par shooter votre modèle sur fond blanc. Ensuite, découpez-la en utilisation l’outil de votre choix (vu que le fond est blanc, j’ai utilisé la Magic wand, sélectionné le fond blanc, puis inversé la sélection), puis créez un nouveau calque (cmd-J sur mac), où la modèle sera sans fond.
Dans le panneau de calques, dupliquez le nouveau calque que vous venez de créer, deux fois, et bougez les de façon à avoir un effet similaire :

Utilisez ensuite l’outil Liquify, et avec le Forward Wrap Tool, créez des lignes vers la gauche, comme dans l’image suivante :

Ajoutez un masque à chacun des 2 calques, rendez le fond de chacun des claques noir, et avec une brosse “Splatter” (tapez dans Google “free photoshop splatter brush”, vous en toruverez des dizaines gratuites ;), sélectionnez la couleur blanche, et peinturez sur le masque, de façon ç faire ressortir l’image invisible, comme dans l’Image suivante. Et voilà !

that’s it ! 🙂
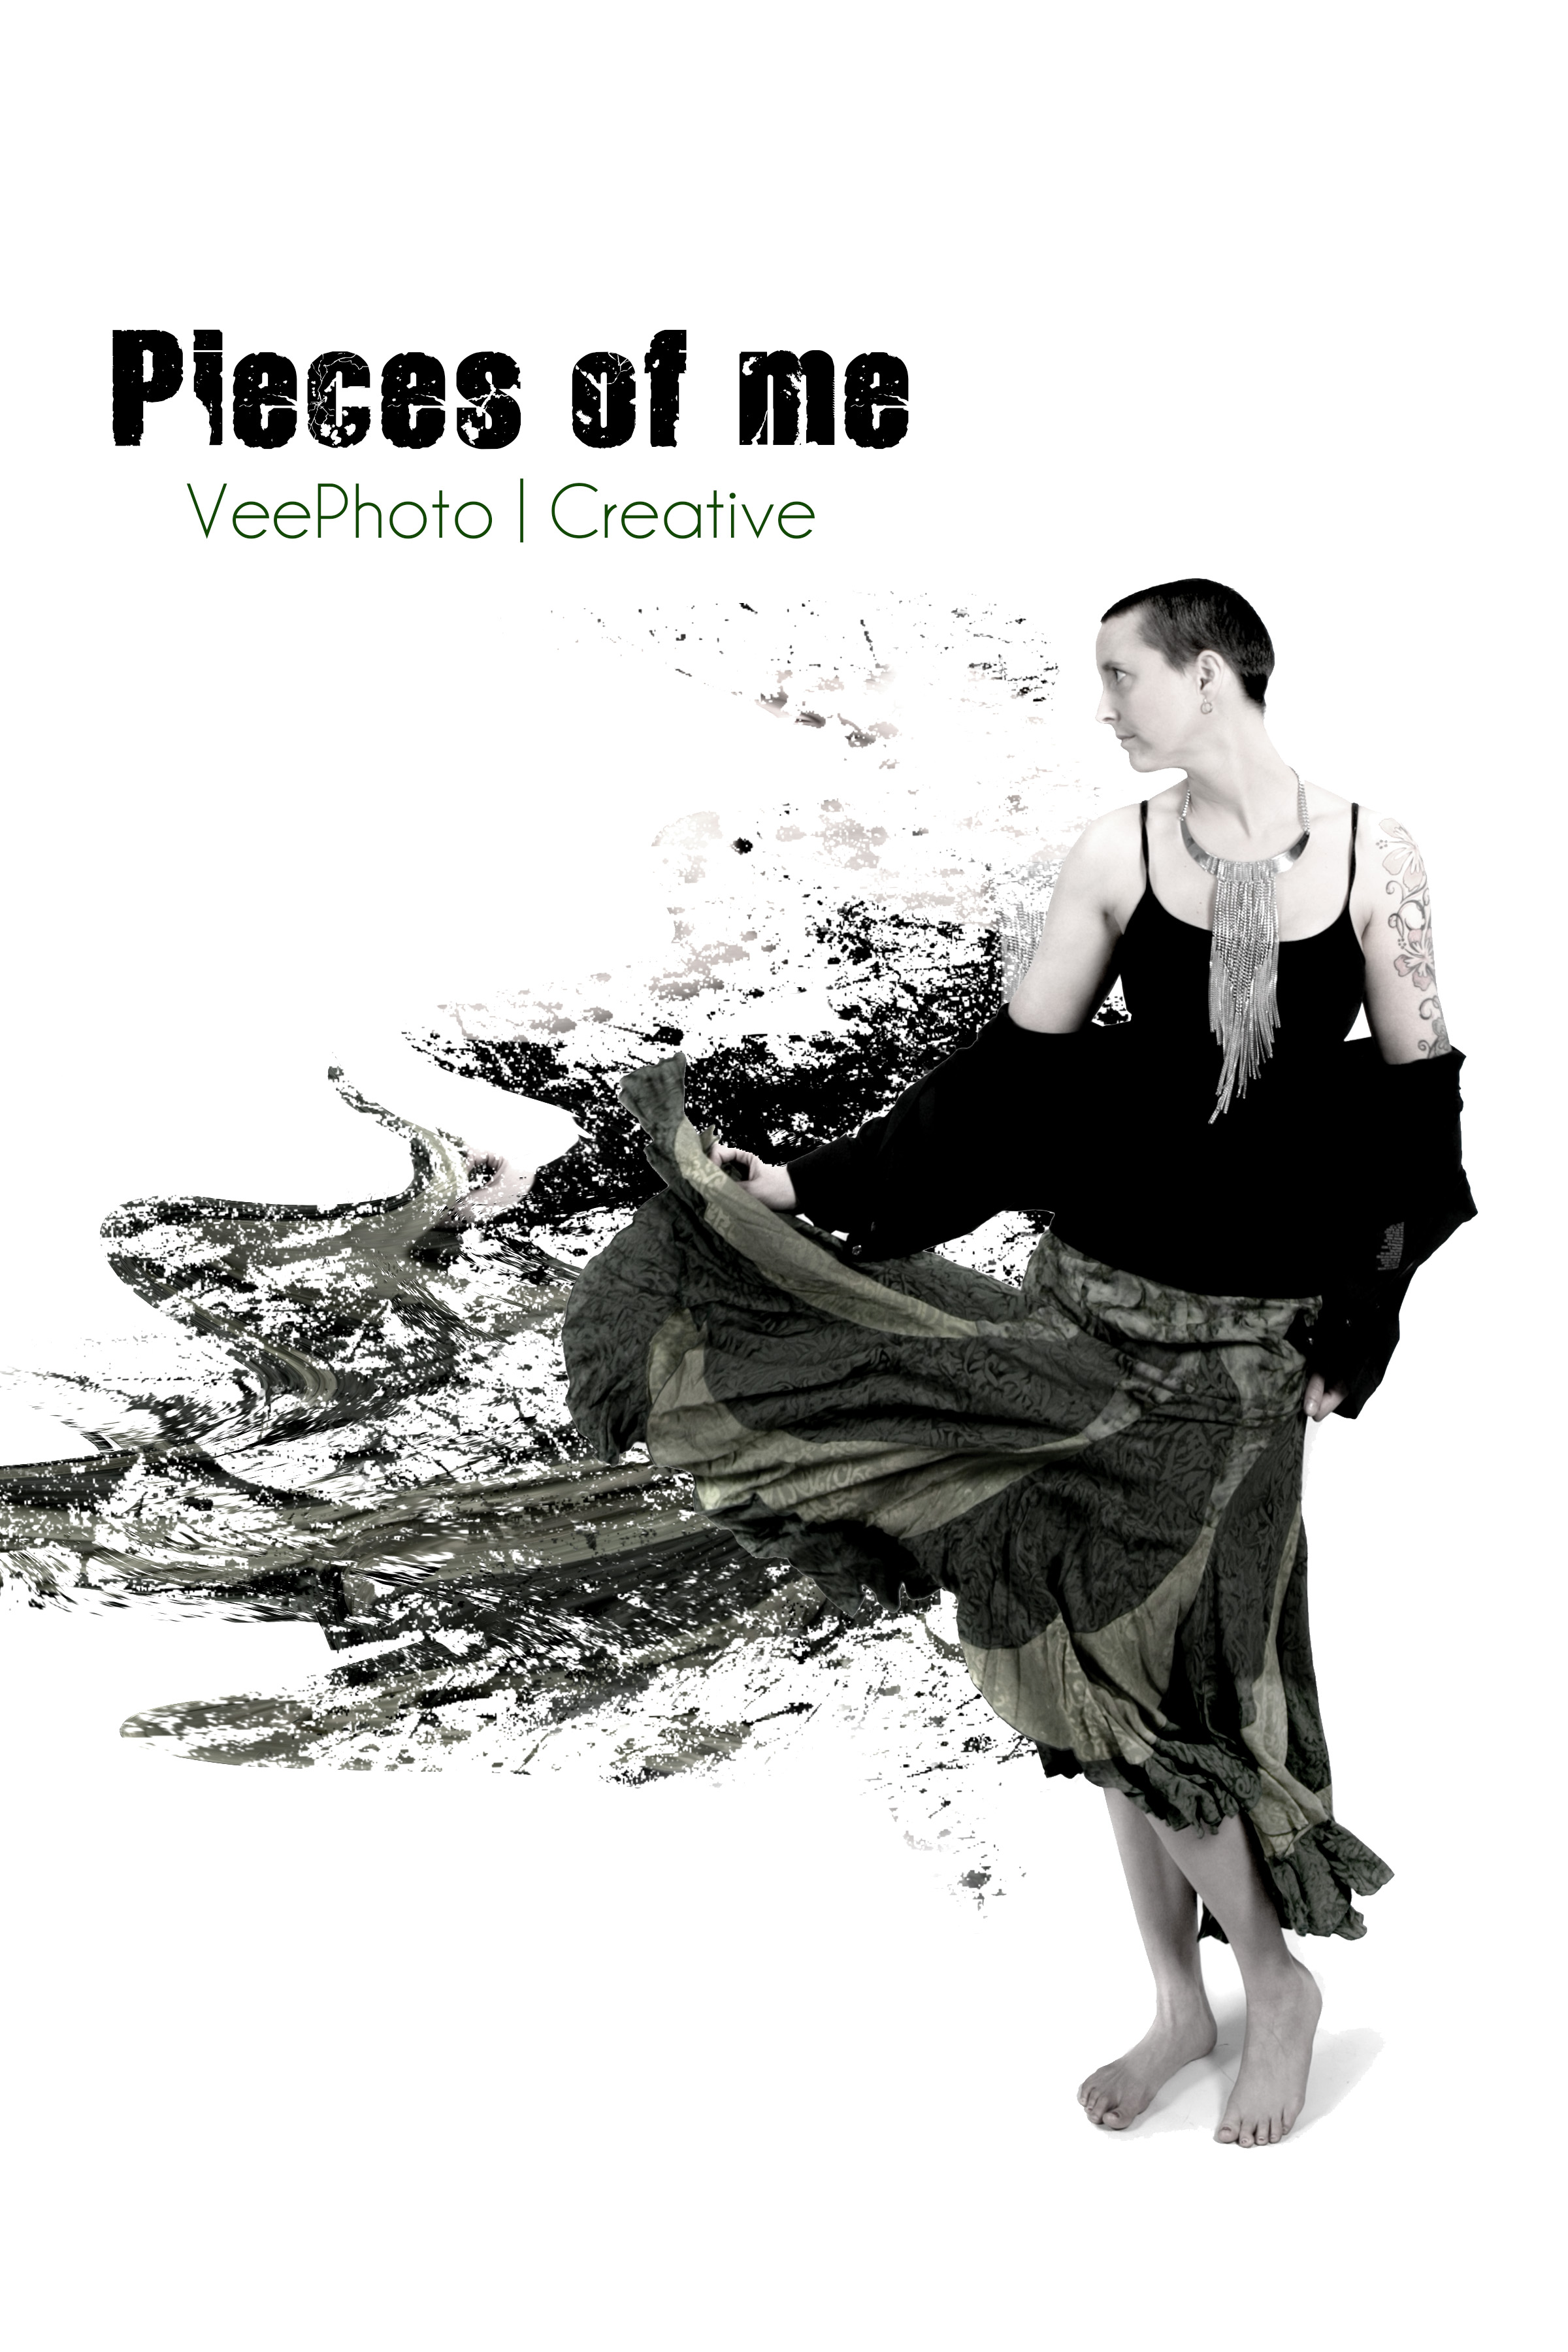
Want to achieve this dispersion effect in photoshop ? here is how 🙂
Start with a photo of someone on a white background.
First, cut around your model using the tool of your choice (since my background was all white, i used the magic wand, selected the white background and inverted the selection)l, and create a new layer (cmd-J on mac), with only the model on it.
In your layers panel, duplicate this new layer twice, and move them slightly apart, like in the picture below.
Then go to the Liquify tool, and using the forward wrap tool, draw lines going left, giving a similar look to the image :
Add a mask to each of the 2 layers, set the background to black, and using a Splatter brush (type in google free photoshop splatter brush, you’ll find dozens ;), select the color white and paint over your mask, so that some parts of the images start coming back, as shown here :
that’s it ! 🙂